Prerequisites
- An active Intuned account (sign up here). No credit card required—Intuned has a free plan
- Basic familiarity with TypeScript or Python
Create and deploy your first scraper
You can develop Intuned Projects in two ways:- Online IDE — Zero setup. Write, test, and deploy directly from your browser.
- CLI — Local development with full version control and CI/CD integration.
- Online IDE
- Intuned CLI
Log in and create project
- Go to app.intuned.io/projects and log in.
- Select Create Project.
- Select your language (TypeScript or Python).
- Choose the e-commerce-scrapingcourse template.
- Name it
ecommerce-scraper-quickstart. - Ensure IDE is selected as Type.
- Select Create and Open.
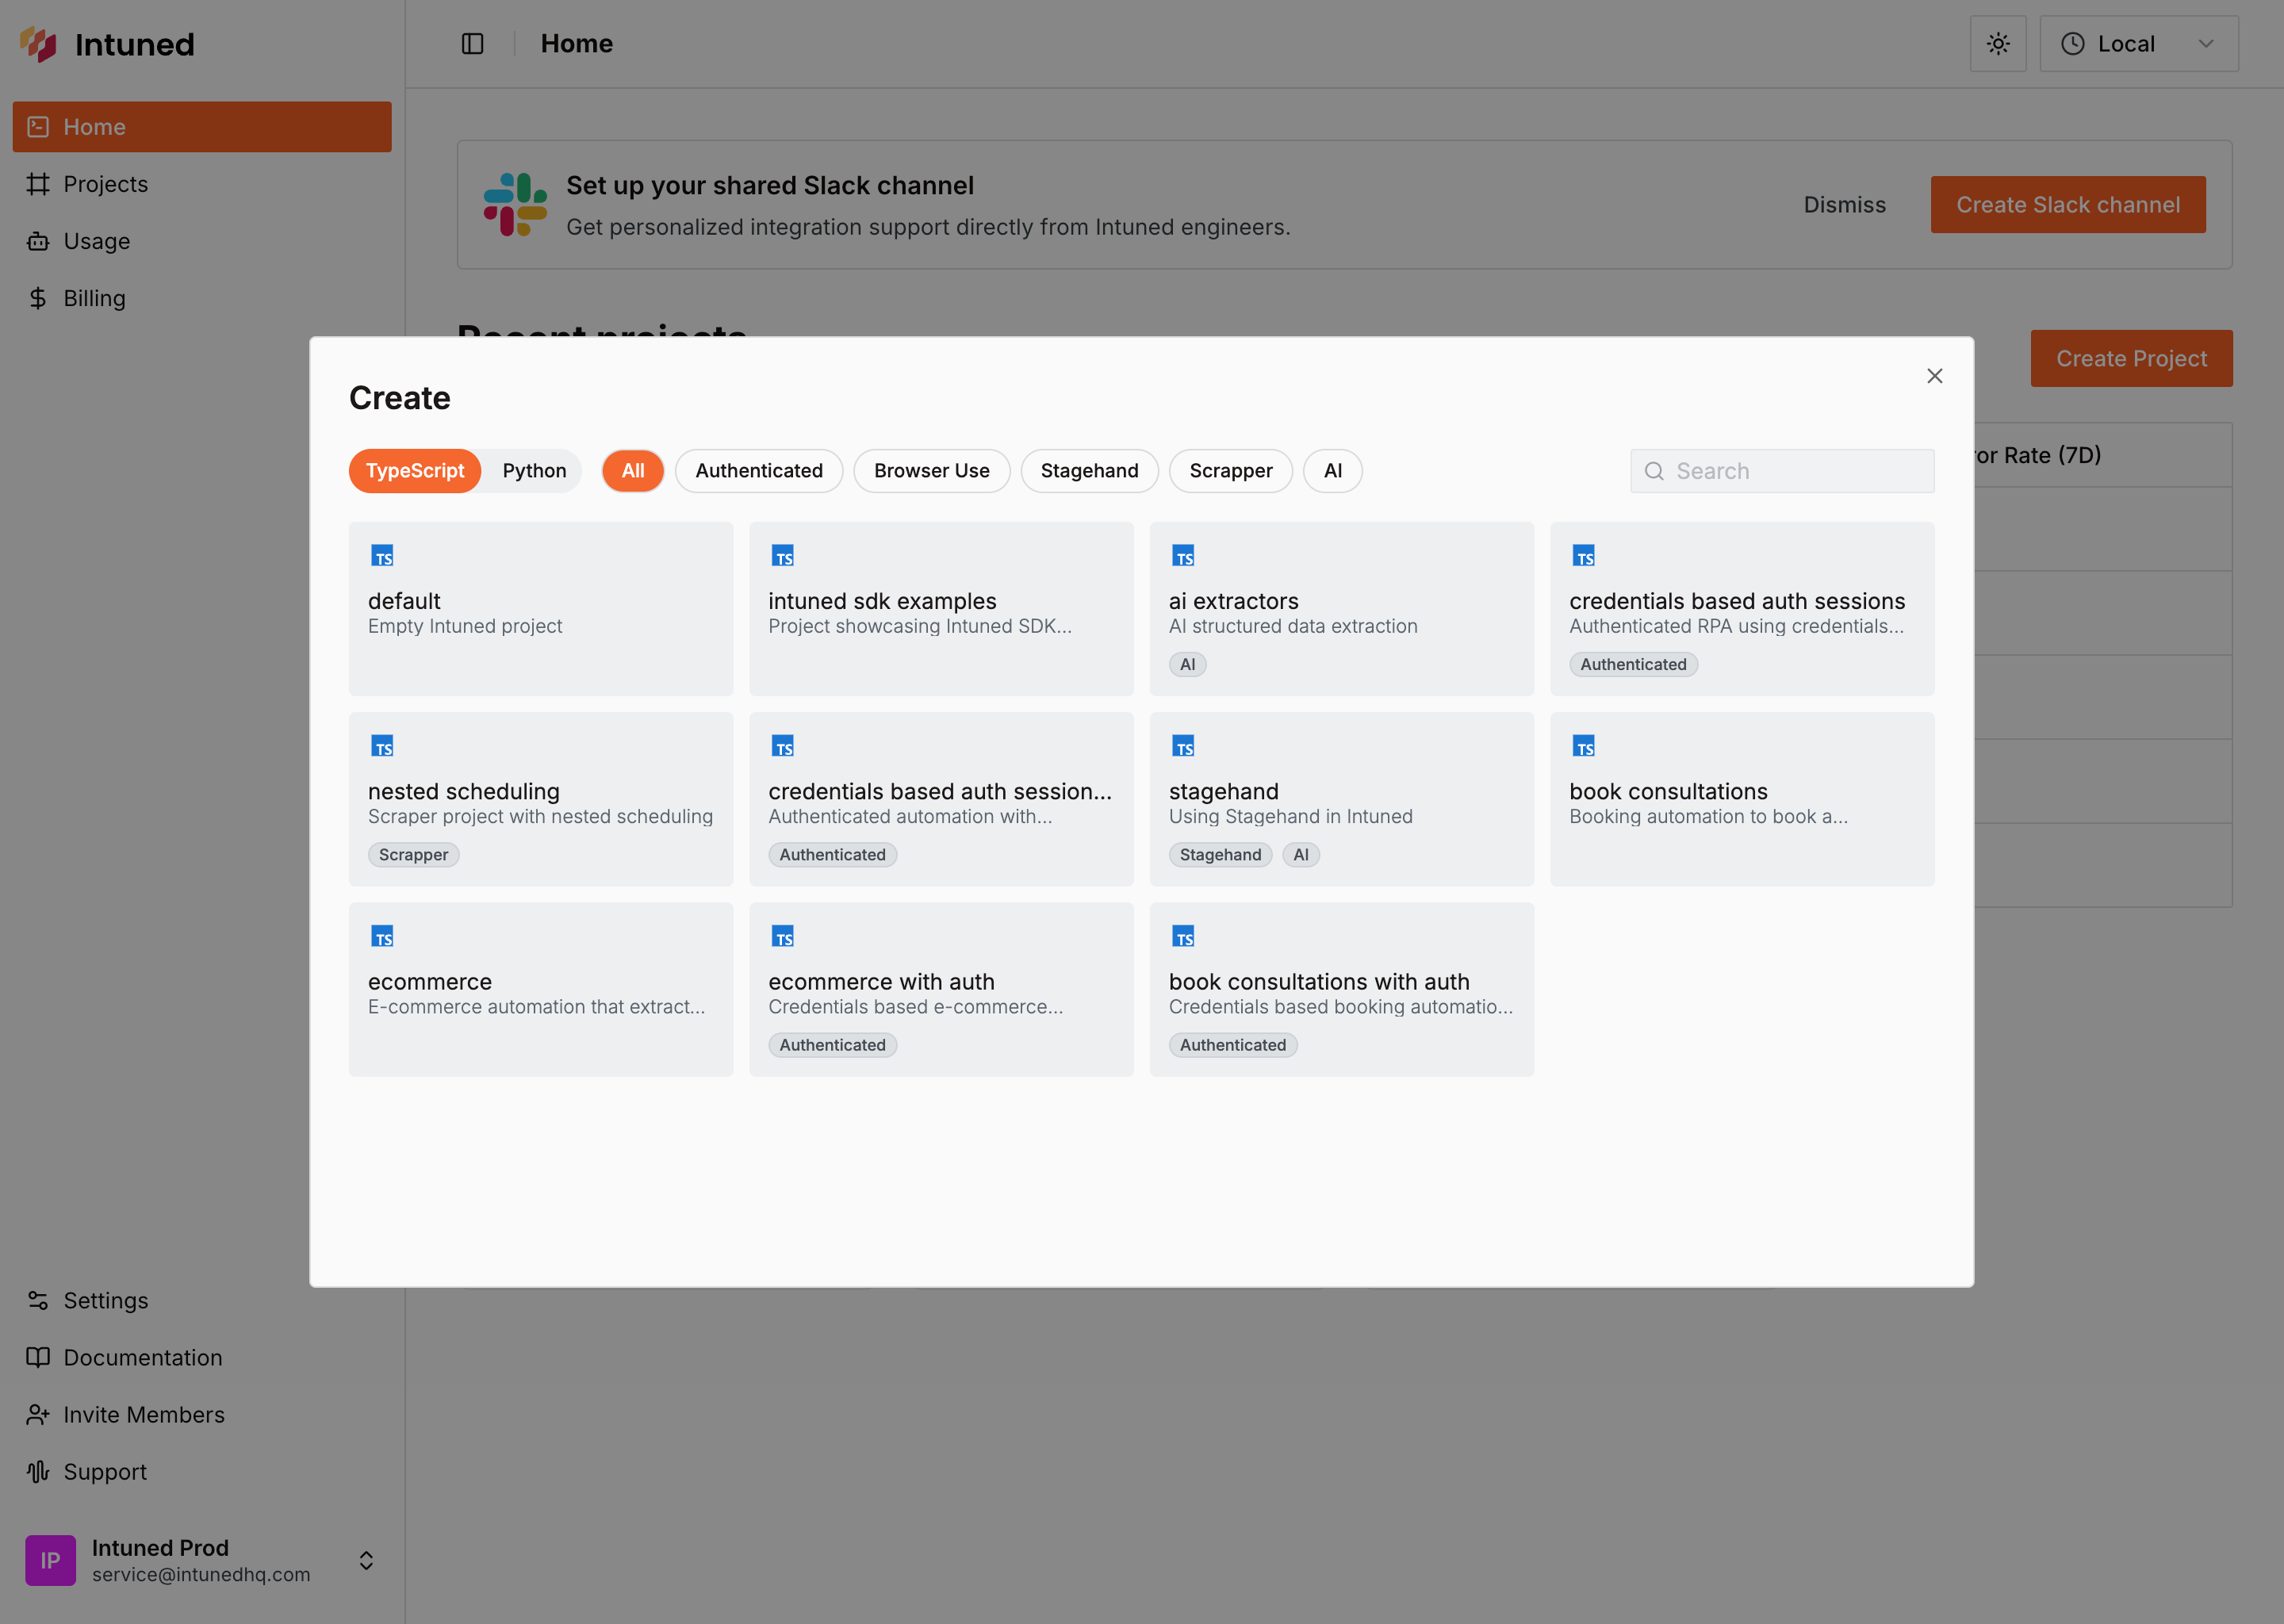
What you just got: An Intuned Project groups related browser automations together. Each file in the api/ folder becomes a callable function that controls a browser using Playwright, accepts parameters, and returns structured results. When you deploy this project, all its APIs go live together as a single deployable unit.
Explore the project code
In the file explorer, you’ll see two API files:
api/list - Navigates the e-commerce site, extracts product info from all pages, and triggers details for each product found.api/details - Visits each product page and extracts detailed information (price, SKU, descriptions, variants).Run your scraper in the IDE
Test the scraper’s
list API to see it working in real-time.- In the top toolbar, select list from the API dropdown.
-
Select Params #1 next to it—you’ll see empty params
{}. -
Select the Run button.
list scraper executing live. You’ll see it navigate through all product pages, extract data, and paginate automatically. The terminal below what executed and the result of the Run.Extended payloads: The IDE also displays a link to view the extended payloads created from this run. For each product found, you’ll see a payload containing the API name details and the product parameters. These payloads represent additional runs that execute when running in a Job context.Deploy your project
Deploy your scraper to Intuned’s infrastructure.
- Select the Deploy button in the top-right corner of the IDE.
- Leave
Create default jobtoggle selected - In the deployment dialog, select Deploy to start.
- Watch the live deployment logs until you see “Ready”.
Trigger the default job and view results
Now trigger the default job to see your scraper run live
- In the deployment success dialog, select Trigger Default Job (or navigate to Jobs).
- Accept and trigger the job.
- A new Job Run execution will start, select it to view the details.
What’s next?
- Jobs — Jobs are the common way to run scrapers. Configure a schedule (daily, hourly, or custom) and define a sink to send your scraper results to a webhook, S3 bucket, or other destination.
- Authentication — For scrapers that require login, Intuned provides built-in authentication support. You define how to log in and how to verify a session, and Intuned handles the rest—validating sessions before runs, reusing them when possible, and recreating them when expired.
- Monitoring and traces — Every run generates detailed logs, browser traces, and session recordings. Use these tools to debug failures, verify your scraper is working correctly, and understand what happened during execution.
- Flexible automations — Build scrapers your way. Write deterministic code, use AI-driven extraction, or combine both in a hybrid approach. Use any library or package—Intuned is unopinionated by design.
- Intuned Agent quickstart — You can write your scraper logic manually like in this quickstart, or use Intuned Agent to generate scrapers from a prompt and schema. Intuned Agent can also help you update existing scrapers, fix failed runs, and iterate on your code faster.
- Cookbook — Browse full working examples of scrapers and other automations. Each example includes complete code you can use as a starting point for your own projects.
- Online IDE — Learn more about the Intuned IDE used in this quickstart.
- Local development (CLI) — Learn more about the Intuned CLI used in this quickstart.