Prerequisites
- An active Intuned account (sign up here). No credit card required—Intuned has a free plan
- Basic familiarity with TypeScript or Python
Create and deploy your first RPA
You can develop Intuned Projects in two ways:- Online IDE — Zero setup. Write, test, and deploy directly from your browser.
- CLI — Local development with full version control and CI/CD integration.
- Online IDE
- Intuned CLI
Log in and create project
- Go to app.intuned.io/projects and log in.
- Select Create Project.
- Select your language (TypeScript or Python).
- Choose the rpa-example template.
- Name it
book-consultations-quickstart. - Ensure IDE is selected as Type.
- Select Create and Open.
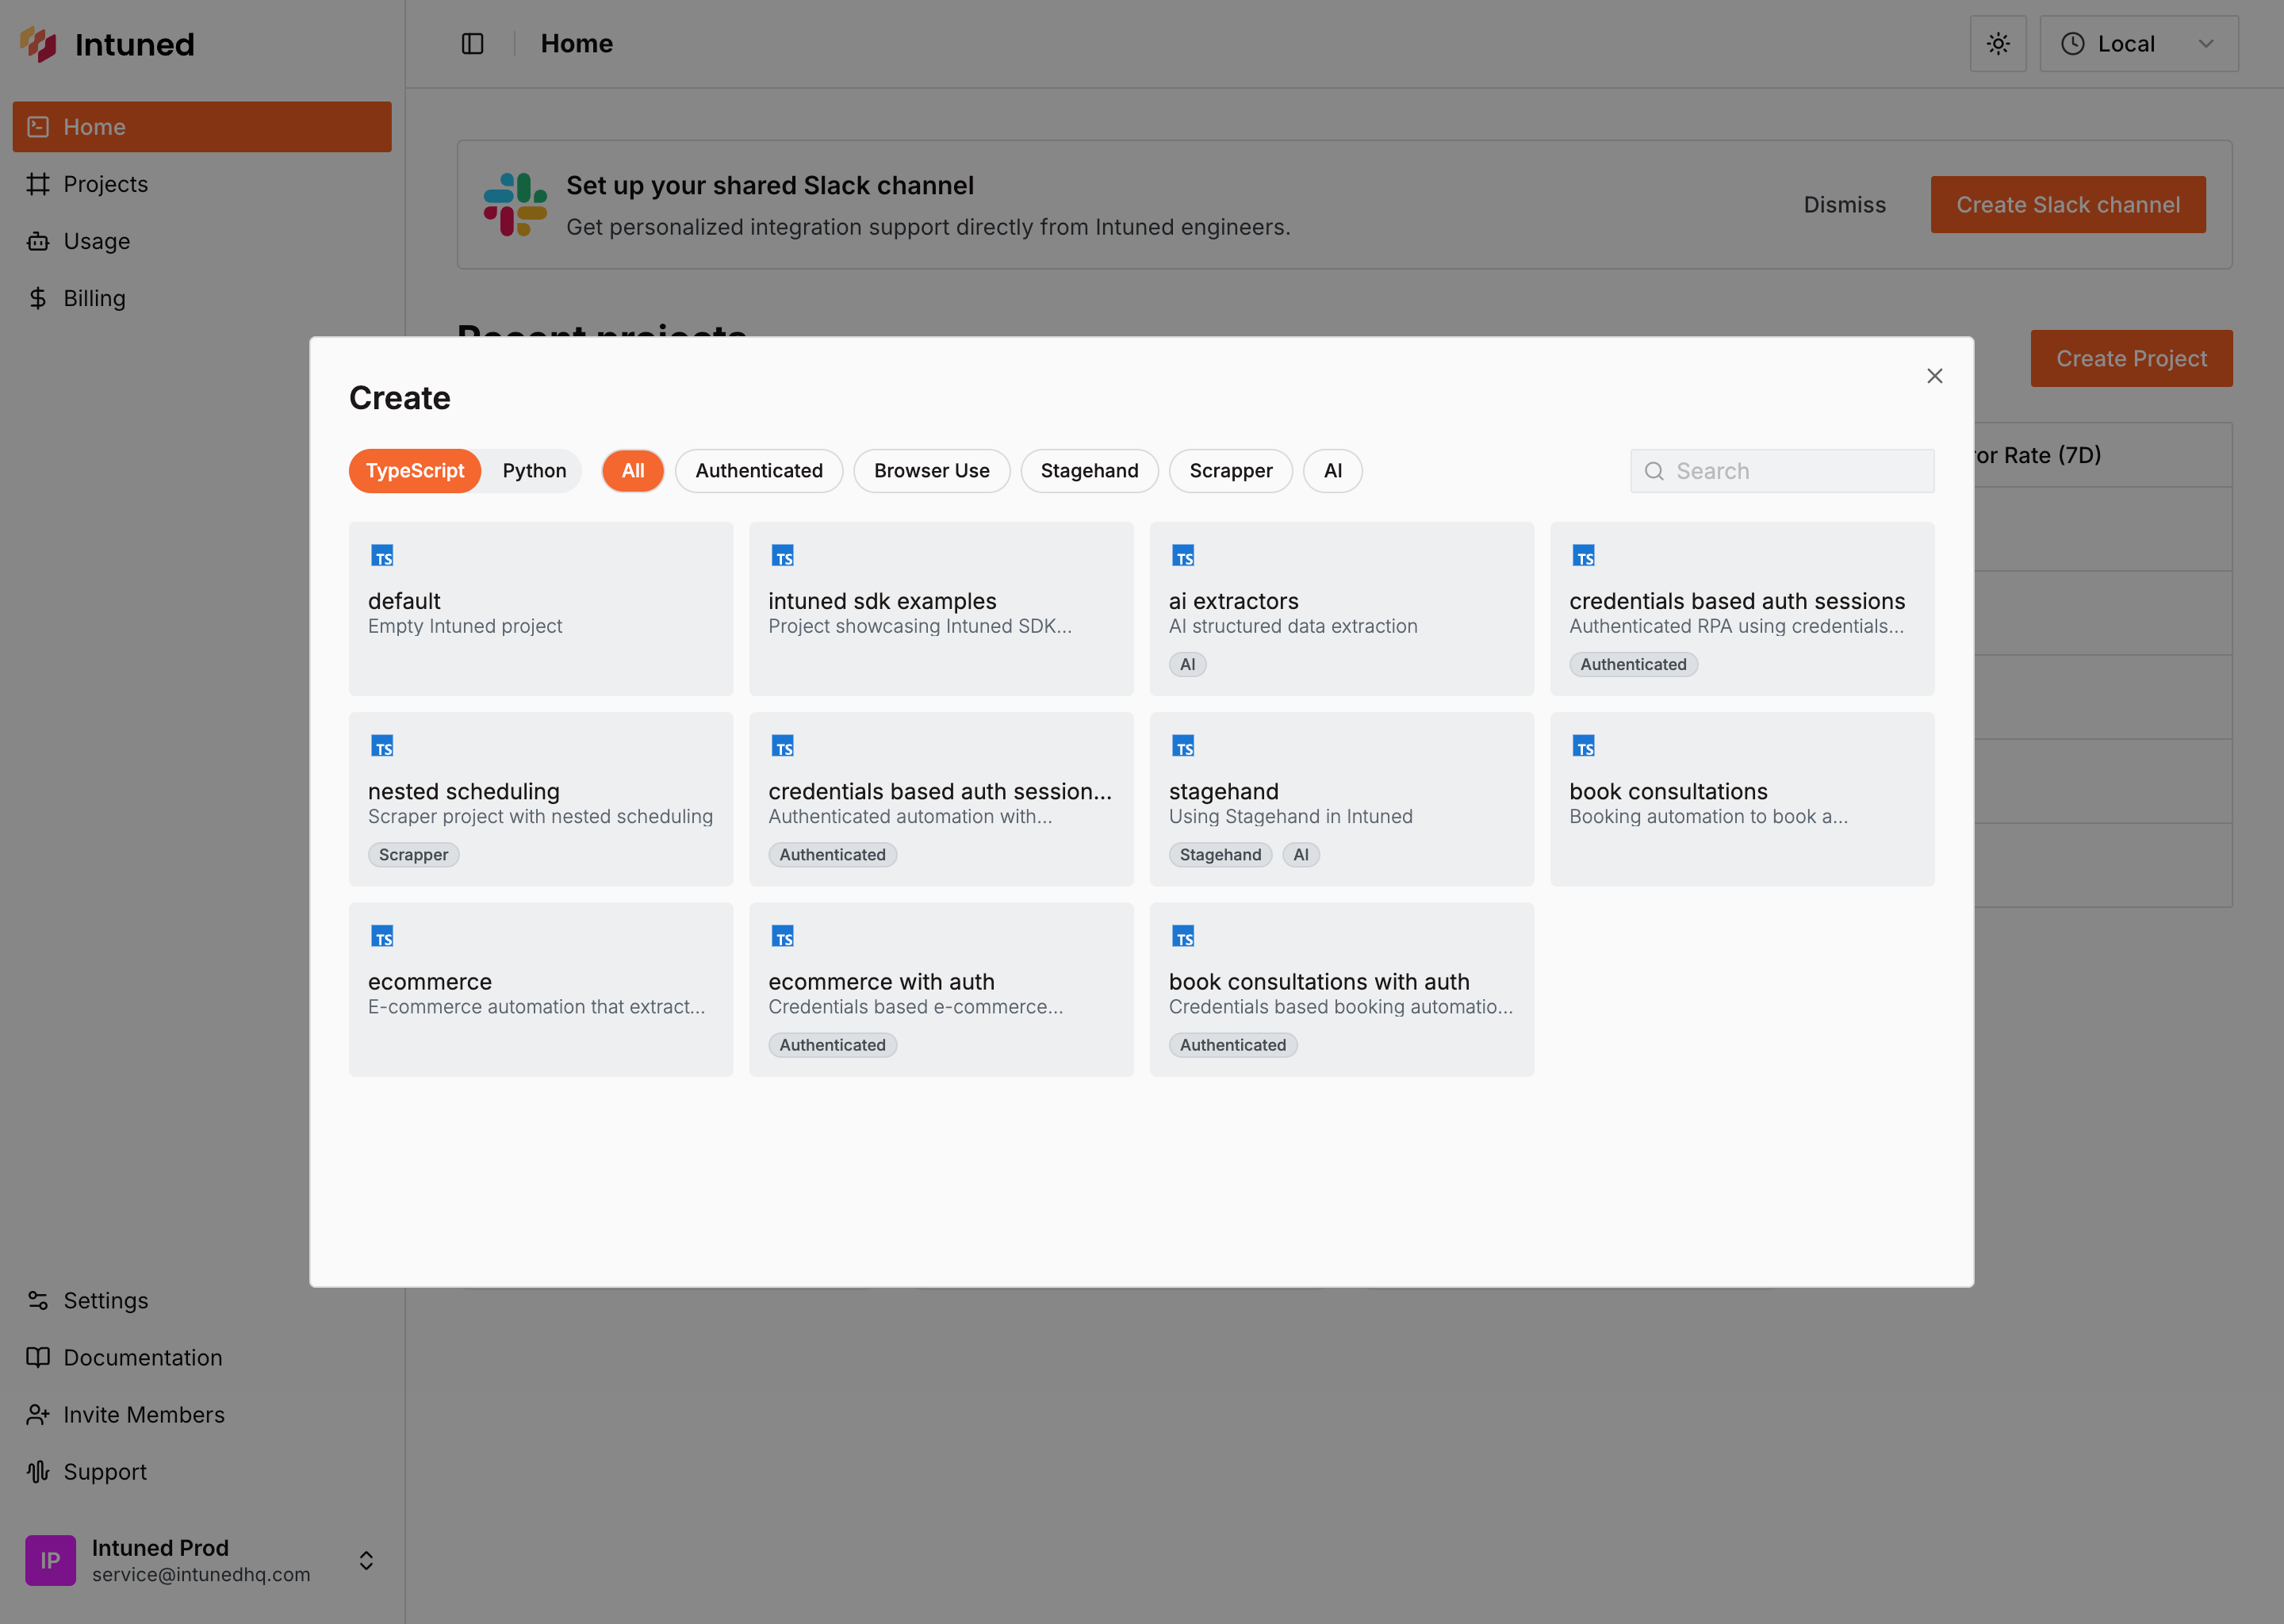
What you just got: An Intuned Project groups related browser automations together. Each file in the api/ folder becomes a callable function that controls a browser using Playwright, accepts parameters, and returns results. When you deploy this project, all its APIs go live together as a single deployable unit.
Explore the project code
In the file explorer, you’ll see the API file:
api/book-consultations - A complete automation that:- Navigates to the booking form
- Fills in personal details (name, email, phone)
- Selects date, time, and consultation topic
- Submits the form and verifies success
Run your automation in the IDE
Test the automation to see it working in real-time.
- In the top toolbar, select book-consultations from the API dropdown.
- Select Params #1 next to it—you’ll see pre-filled test data already configured.
-
Select the Run button.
Deploy your project
Deploy your automation to Intuned’s infrastructure.
- Select the Deploy button in the top-right corner of the IDE.
- Leave
Create default jobtoggle selected. - In the deployment dialog, select Deploy to start.
- Watch the live deployment logs until you see “Ready”.
Test in the Playground
Now test your deployed automation through the API Playground.
- In the deployment success dialog, select Run in Playground.
- In the Playground, you’ll see your deployed API book-consultations ready to call.
- The request body is pre-filled with test parameters. Select Start Run to execute.
What’s next?
- Online IDE — Learn more about the Intuned IDE used in this quickstart.
- Local development (CLI) — Learn more about the Intuned CLI used in this quickstart.
- Authentication — For automations that require login, Intuned provides built-in authentication support. You define how to log in and how to verify a session, and Intuned handles the rest—validating sessions before runs, reusing them when possible, and recreating them when expired.
- Monitoring and traces — Every run generates detailed logs, browser traces, and session recordings. Use these tools to debug failures, verify your automation is working correctly, and understand what happened during execution.
- Flexible automations — Build automations your way. Write deterministic code, use AI-driven extraction, or combine both in a hybrid approach. Use any library or package—Intuned is unopinionated by design.
- Intuned Agent quickstart — You can write your automation logic manually like in this quickstart, or use Intuned Agent to generate automations from a prompt and schema. Intuned Agent can also help you update existing automations, fix failed runs, and iterate on your code faster.
- Cookbook — Browse full working examples of automations and scrapers. Each example includes complete code you can use as a starting point for your own projects.