Overview
When automations fail, the error message alone is sometimes not enough to diagnose the issue. This guide walks you through a systematic debugging workflow: checking error messages, viewing traces, identifying root causes, and implementing fixes.Debugging workflow
1. Check the error message
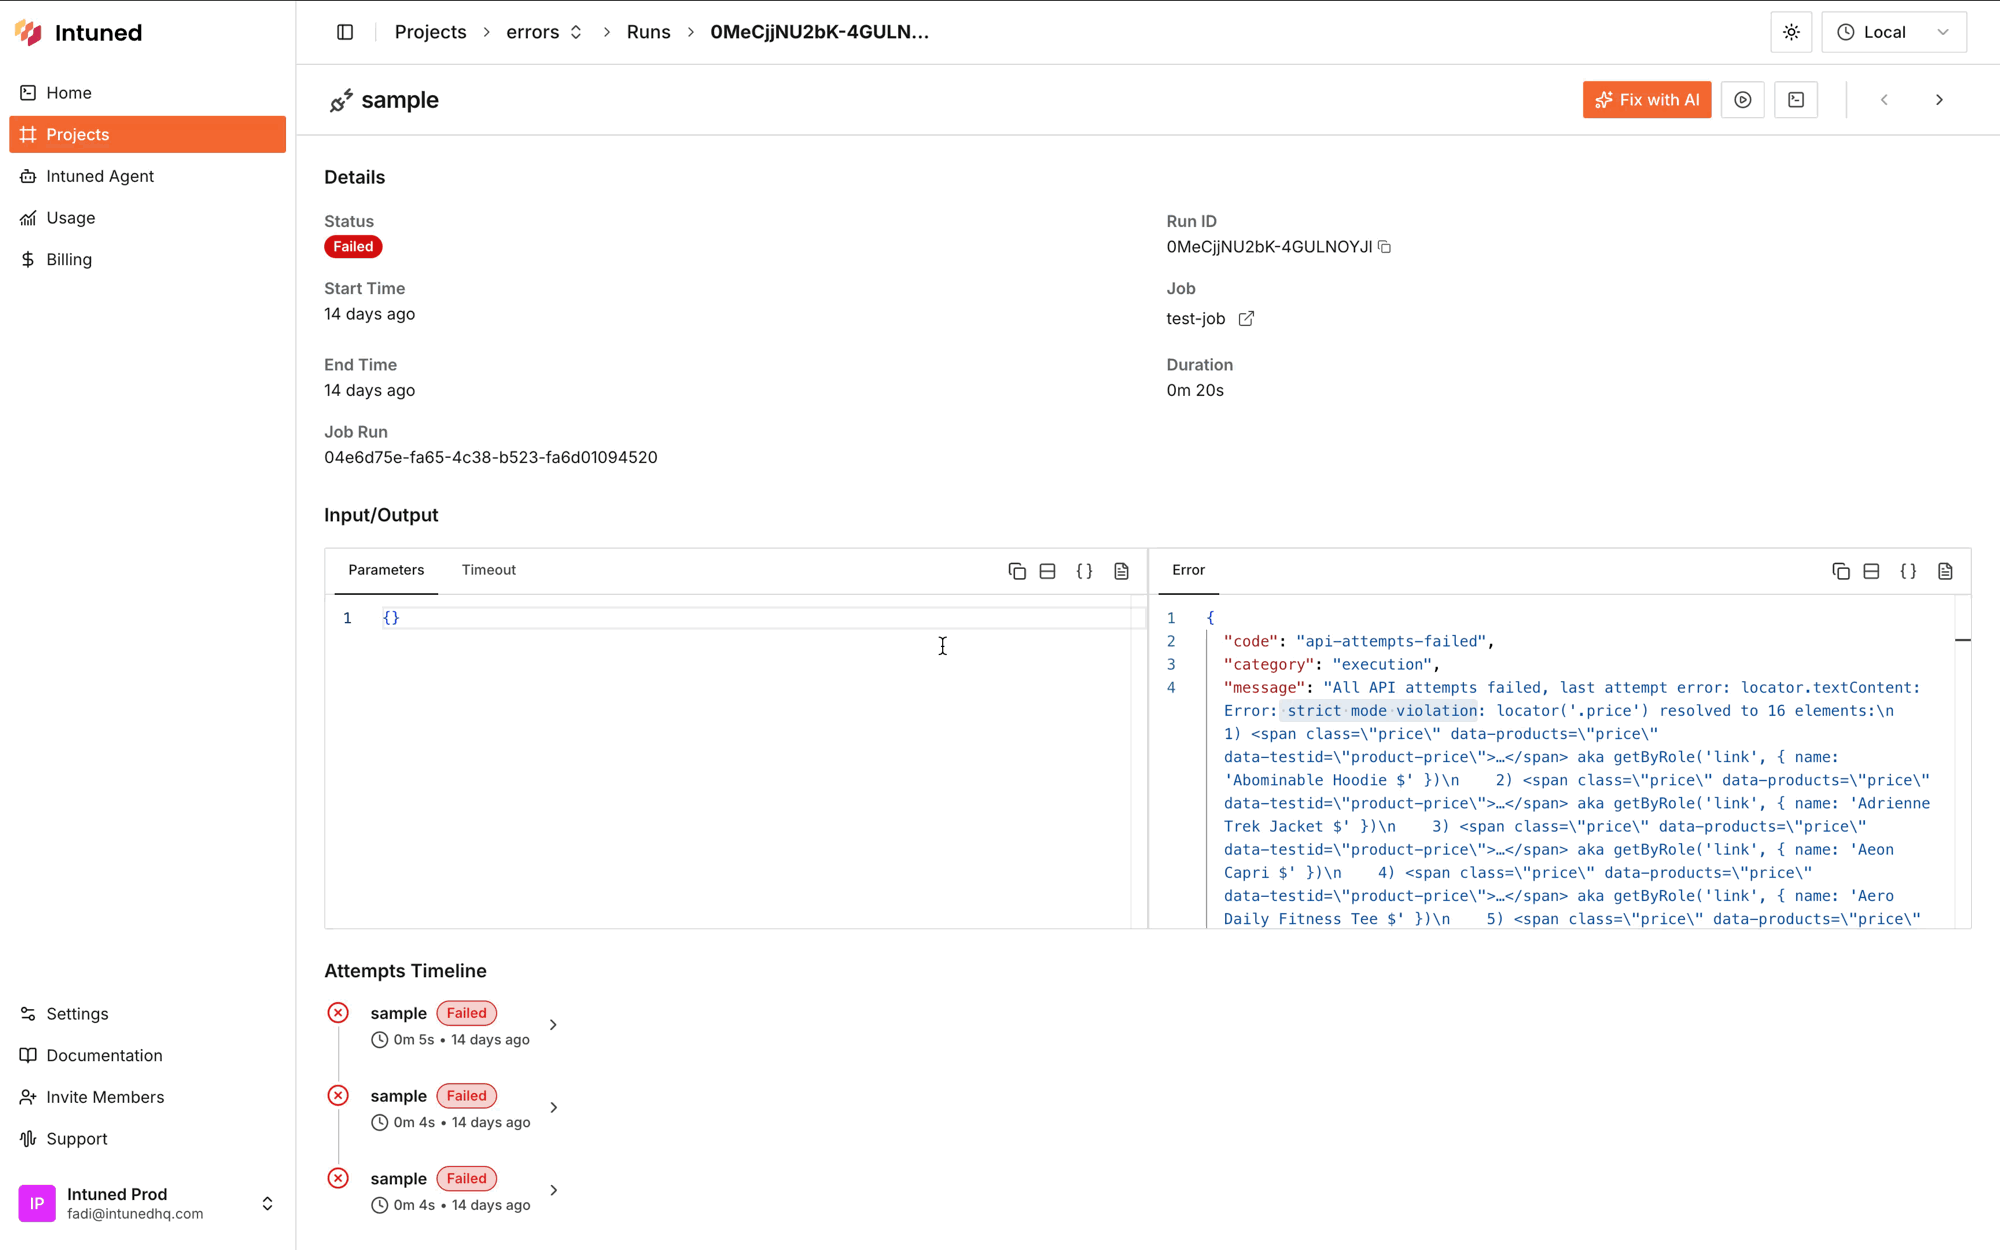
Start by accessing the Run details page and checking the error message in the Error tab. While error messages provide initial clues, you’ll need to view the trace to understand the full context.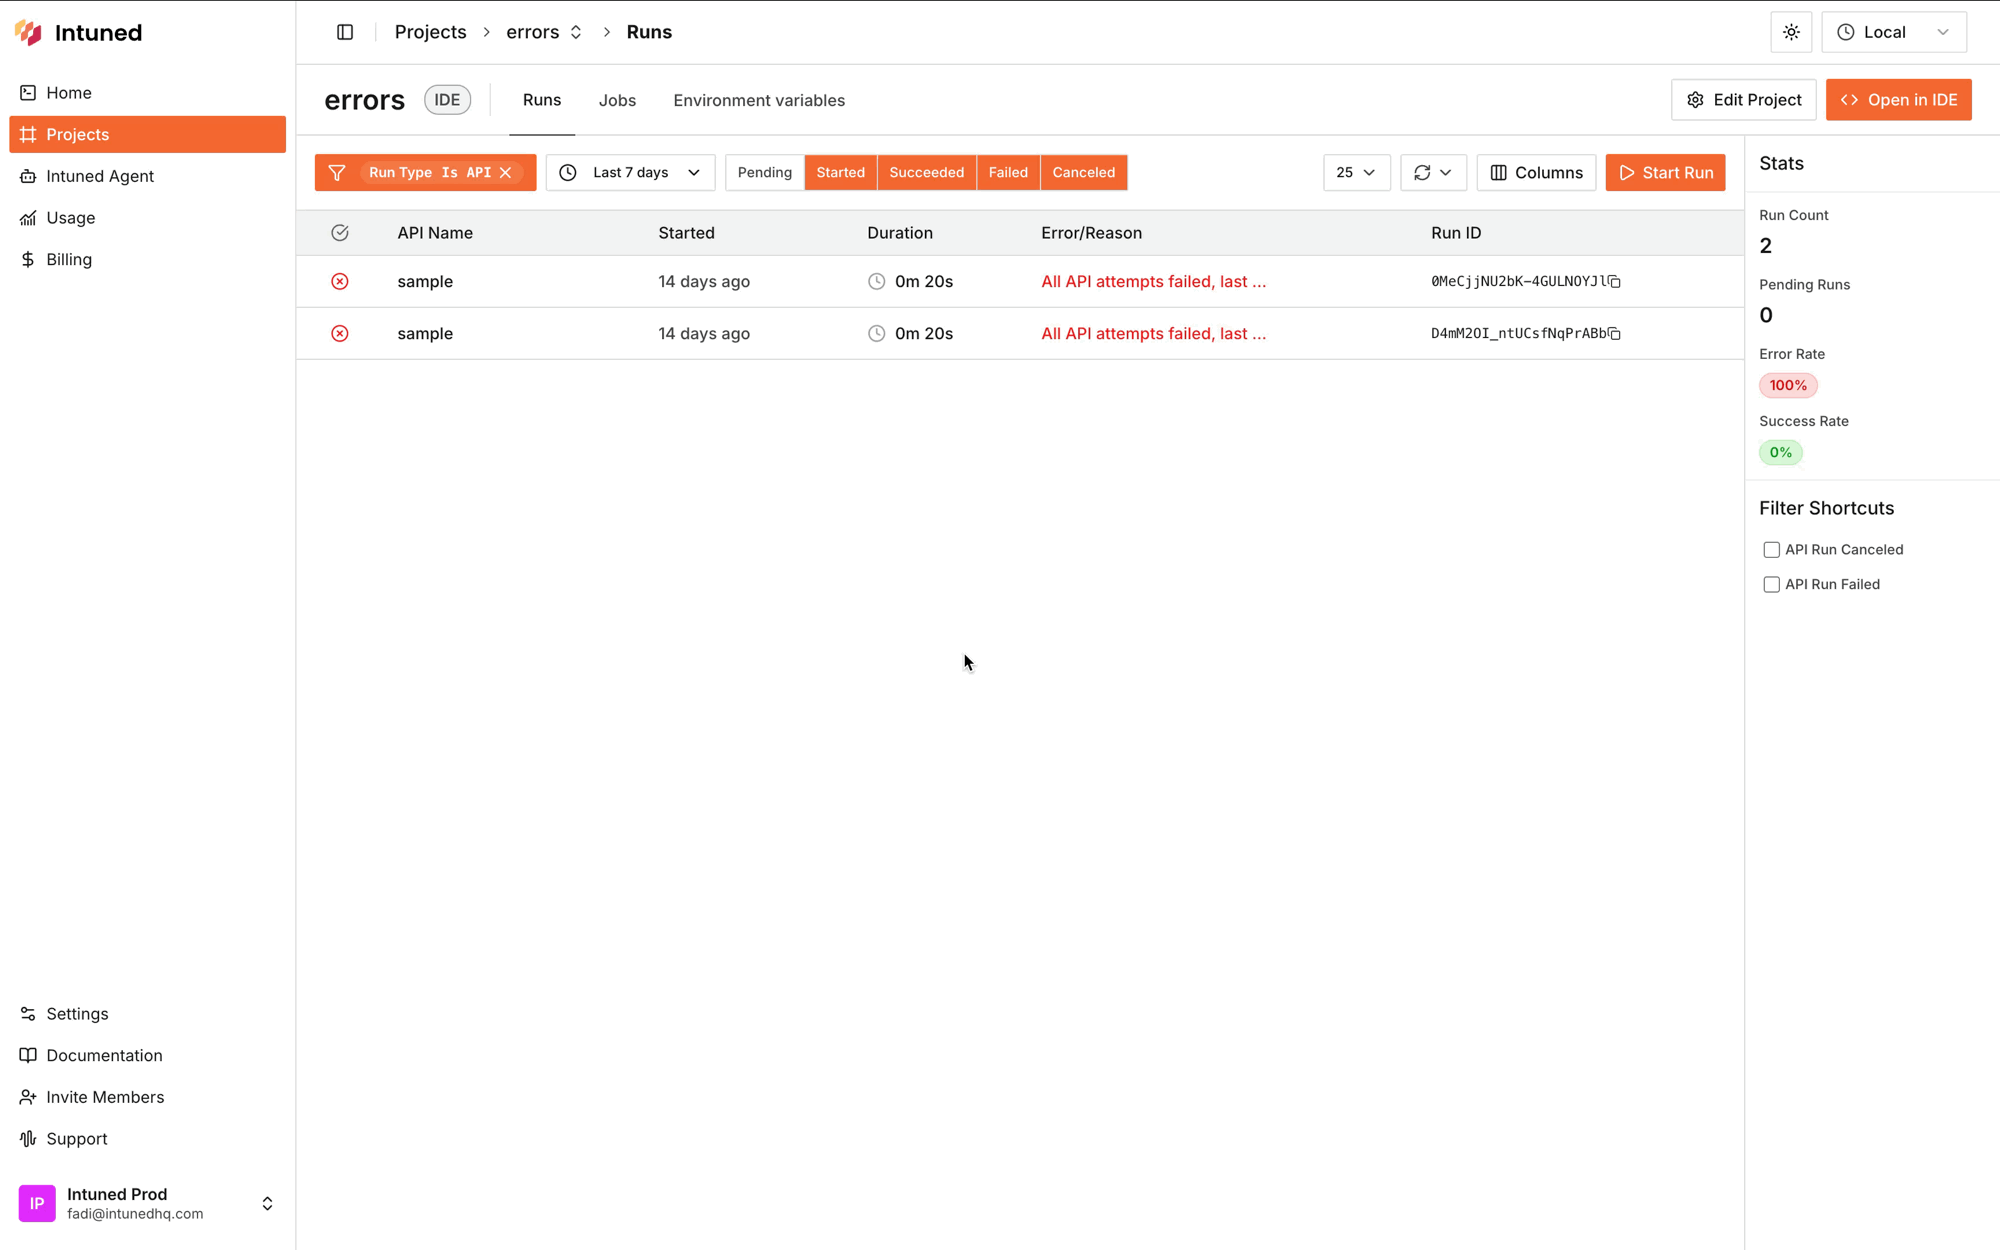
2. View the Playwright trace
View the trace for the last failed Attempt to get complete visibility into what actually happened during execution. The trace shows:- Step-by-step screenshots of the automation
- Network requests and responses
- Console logs and errors
- DOM snapshots at each step
- Timing information for each action
- In the Run details page, scroll down to the Attempts Timeline
- Select the failed attempt to expand it
- Select View Trace to open Playwright’s trace viewer

3. Identify the root cause
After watching the trace, identify the root cause to guide your fix: Website is down or broken — If the target website shows server errors or is unreachable, wait for it to recover. Consider adding retry logic for temporary outages. Page structure changed — If selectors that previously worked now fail, the website’s HTML structure likely changed. Update your selectors to match the new structure. Incorrect or outdated selectors — If the automation times out waiting for an element or gets “strict mode violation” errors:- The selector may be wrong, too specific, or match multiple elements
- The element may load dynamically (add explicit waits)
- The element may be inside an iframe
- Make selectors more precise or use filtering methods
4. Download and review logs
For additional debugging context, download the logs for the Run. Logs contain:- Console output from your automation code
- Custom log messages you added with
console.log()or logging libraries - System-level information about the execution environment
- In the Run details page, scroll down to the Attempts Timeline
- Select the attempt to expand it
- Select View Logs
5. Reproduce with Run in IDE
After identifying the issue, try to reproduce it by running the failed Run in the IDE:- In the Run details page, select the Play icon to launch Run in IDE
- The IDE opens with the Run’s parameters pre-loaded and starts executing
- Watch the execution to confirm you can reproduce the issue
Sometimes issues aren’t reproducible in the IDE because of differences between the IDE and deployed environments:
- Different viewport sizes
- Bot detection in headless mode
- Different execution timing or network conditions
- Browser extensions or settings
- Geographic location or IP-based restrictions
6. Implement the fix and deploy
Once you’ve identified and confirmed the issue:- Implement your fix — Update selectors, add wait conditions, handle edge cases, or make other necessary changes
- Test your changes — Run the automation in the Intuned IDE or locally to verify the fix works
- Deploy — Deploy your changes. Changes won’t take effect until you deploy
7. QA the fix
After deploying, verify the fix works by:- Re-running the failed API — Call the API again with the same parameters that previously failed
- Re-triggering the Job — If the failure occurred in a Job, trigger the Job again to ensure it completes successfully